Free-form tarts are the savior of the unfussy cook. Unlike tarts baked in a pan, there’s no need to worry about trimming dough, rolling out perfect circles, or using pie weights. They’re the sort of thing I love to pull from my oven year round, but especially in conjunction with peak tomato season. A beautiful tomato tart layered with jammy, caramelized onions, laced with fresh basil alongside a simple green salad? Good lord yes.

This tomato tart recipe is a few personal winks, twists, and additions away from one of the classic versions you might find in France. I talk more about the crust I use down below, and the toppings as well. I love these sorts of tarts for picnics, beach days, and road trips, dinner gatherings, and potlucks – cut into wedges or grids. They show off the best flavors of the season, and once you make the dough (takes less than five minutes), the rest is a breeze.
Let’s Talk Toppings
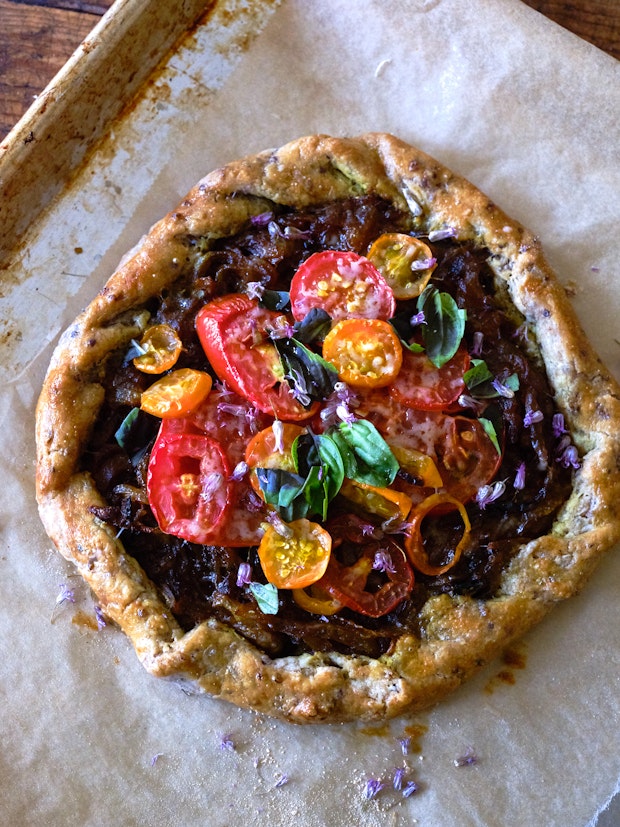
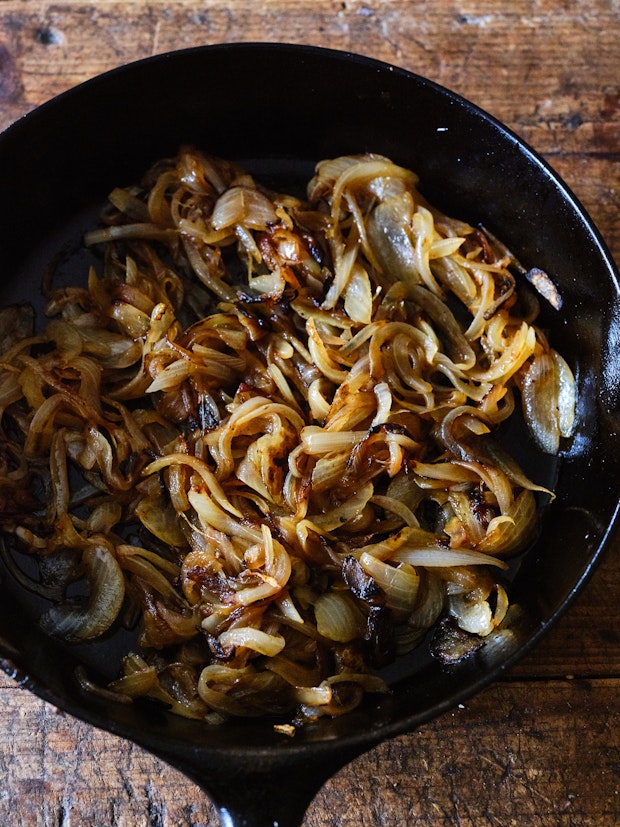
You can keep the toppings as simple or as complex as you like, and the version here splits somewhere down the middle. The version you see pictured (and featured in the recipe) combines caramelized onions and peak, in-season, tomatoes as the core components. Cooking the onions takes a bit of time, but to be honest, if you do a big skillet full and keep them in the refrigerator, they’re great on pizzas, in sandwiches, and in noodle & pasta bowls throughout the week.
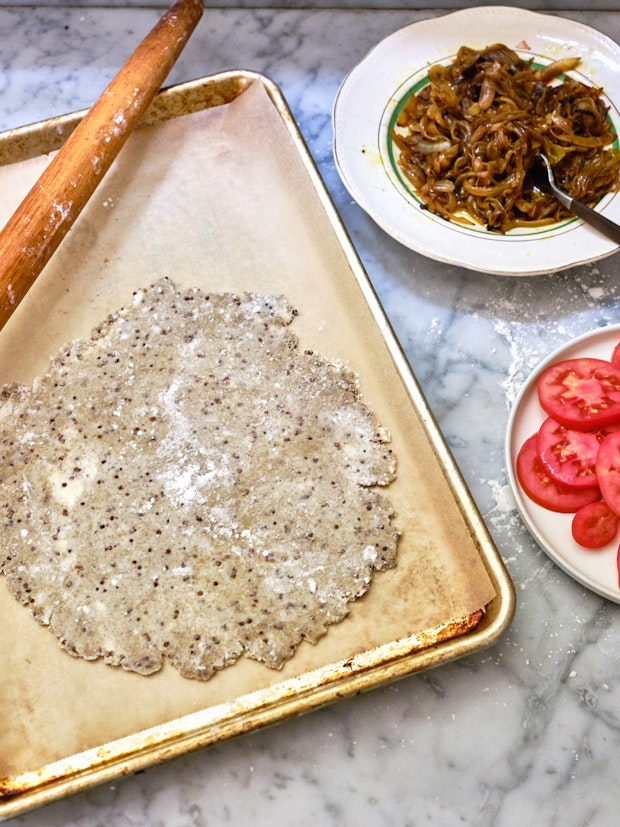
To the onions here, I add a big pinch of turmeric and lots of black pepper, but you don’t have to. You can think of the onions as their own component and season them as much or little as you like – as long as you imagine your seasoning will go well with tomatoes, you’re likely fine. There’s basically a world of possibilities. I can imagine cinnamon, cumin, caraway, ground peppers, curry blends, etc. all being wonderful additions. I talk more about toppings down below, but the tart dough is basically a blank, buttery canvas to experiment with.
Make-ahead Friendly
With a bit of advance planning, these sorts of tarts are completely weeknight friendly. Especially if you think of the tart dough as one component. You can make it days in advance and refrigerate. Or make extra, double-wrap and freeze – thawing before using (but keeping cold). I think of the toppings as the second component and often do a big batch of them over the weekend. For tarts like this one, I might caramelize the onions in advance by a day or two. Or browse your refrigerator for other ideas. If I had extra pesto, perhaps slather it across the dough before topping with other ingredients. Or, if it was winter, maybe I’d grab some roasted winter squash.
A Rustic Tart Crust
The crust of this tart deploys a favorite baking trinity of mine – rye, cooked quinoa, and all-purpose (or bread) flour. I use a blend of these three ingredients increasingly often – when I bake sourdough, when I make flatbreads (and pizza crusts), and for tarts like these. The butter brings richness and flavor while you get the nutritional boost of the whole grain quinoa and rye flour along with a bit of lightness from the white flour. If you nail the ratio correctly, you end up with goodness coming from your oven that is rustic, flavor-rich, and satisfying – with nice, flaky texture. AND the recipe introduces you to my favorite method for pulling a pie or tart dough together.
A Few Tart Tips
- Make sure your toppings aren’t hot when you assemble your tart. Whether you’re making this tart, or riffing on it with another idea you have, make sure your roasted squash, or blistered mushrooms, or grilled squash are room temperature or colder. This way it wont melt the butter in your crust.
- Work quickly when you’re rolling out your well-chilled dough. Make sure your counter and rolling pin are dusted with flour. If your dough is sticking at all and you get the sense it has become too warm, transfer it back to the refrigerator for 10-15 minutes, and try again.
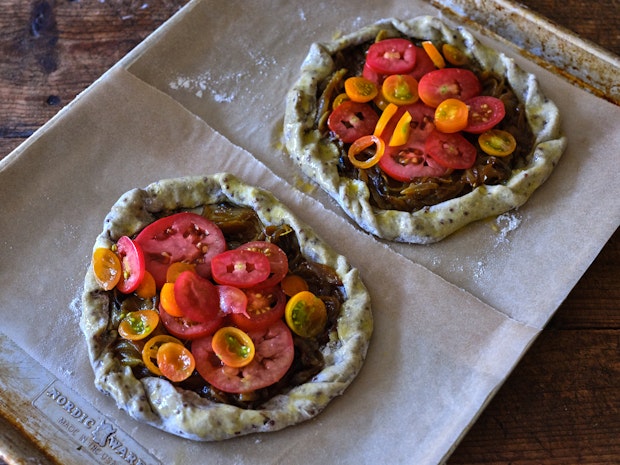
- If you think your unbaked tart isn’t looking great, power through it. Look at my unbaked tart picture just above. It’s no prize winner, but have faith! They look exponentially better after they’ve been brushed with egg and baked until golden in a hot oven.
- That also reminds me, resist the urge to under bake. I tend to go as long as I can in the oven, to get that nice color, and to give crispness and structure to the crust. You’re aiming for golden plus plus plus.

Ideal Tomatoes for Tomato Tarts
I use a blend of whatever tomatoes are most flavorful at the moment. They don’t have to be the best looking tomatoes, and a tart like this is a great way to use slightly blemished tomatoes because once they bake you won’t know the difference. I like to use a mix of tomatoes of different sizes, and a mix of colors as well if I have them. Variety is all good here. Use what you’ve got as long as they taste good.

As I’m looking at this photo, I keep thinking to myself, “you should have kept it in the oven another five minutes.” It has good color as-is, but it had the potential to get really, really good. Next time!

Enjoy the tart(s)! Let me know if you experiment with the toppings in anyway. You know I love your wildcards! -h
Continue reading Rustic Tomato Tart on 101 Cookbooks
